

What to expect?
The first project I built when I joined college was Supermarket Billing System in C++. This blog pays tribute to the old curious me and will dive into core Rust Concepts. In the first part of the Supermarket Billing System, we will cover the module system, structs, Result Type, Reading a file, and much more. Let's get started...
Let's write some basic code
use std::io;

fn main() {
    println!("-------------------------------------------");
    println!("Welcome to Schrute Farms\nBy Dwight Schrute");
    println!("-------------------------------------------\n");
    println!("Menu \n1. Press A to place an order \n2. Press P to see products list \n3. Press E to exit \n");
    menu();
}

// Print menu options and compares the option entered and calls the specific function
fn menu(){
    println!("Enter your choice: ");

    let mut choice = String::new();
    io::stdin()
        .read_line(&mut choice)
        .expect("Failed to read line");

    let option = choice.trim().to_lowercase();

    if  option.eq(&String::from("a")) {
        place_order();
    }
    else if option.eq(&String::from("p")) {
        show_products();
    }
    else if option.eq(&String::from("e")) {
        return;
    }
    else {
        println!("You have entered an invalid choice!");
        menu();
    }
}

fn place_order(){
    println!("You have placed an order");
}

fn show_products(){
    println!("You are seeing the products");
}
Explanation,
We created a cargo project using
cargo new <project-name>command.In the
mainfunction printed a few lines and called functionmenu().Now we take a choice from the user using
io::stdin()::read_line()method.Trim and Lowercase the input (As whitespaces will be attached with it).
Use
if-elseblock to call functions related to each input.Each function
place_orderorshow_productis just printing one line.
This is the basic code and thought process involved in the billing system.
Let's run it...

Cool 🦀
Making this quote our motto while learning Rust:
Always play with the code, and see what happens when you do something else instead of what I gave. And if your code breaks, then don't be an idiot and figure out what happened and why.

Improvising the code
Now what we wrote was really basic and needs some improvement. Starting with separating the functions into different modules.
Rust Module System? 🤔
Remember when I said that there are two types of crates: Binary and Library. Right now what we are building is a Binary crate and
main.rsis always the crate root of Binary crate.So the compiler will always look for the crate root while compiling. Let's say I want to declare a module, named
anamthen the compiler will look for it in these places:
Inline, within curly brackets that replace the semicolon following
mod anamIn the file src/anam.rs
In the file src/anam/mod.rs
If we create the module as a separate file then to bring it in the scope of
main.rswe will write this:mod anamThen we can call
useto bring it's functions/structs/enums.
Create two files in src folder called order.rs and product.rs
Shift place_order() and show_product() functions to order.rs and product.rs respectively.

Bring them in scope of main.rs
mod order;
mod product;

use order::place_order;
use product::show_products;
To smoothen the process of taking choices from the user we will replace io:std with inquire crate.
Go to Cargo.toml file and add this under dependencies
inquire = "0.5.3"
We will use Select trait to take input from user.
use inquire::Select;
In the menu() function remove the code which is taking input from the user and instead add this.
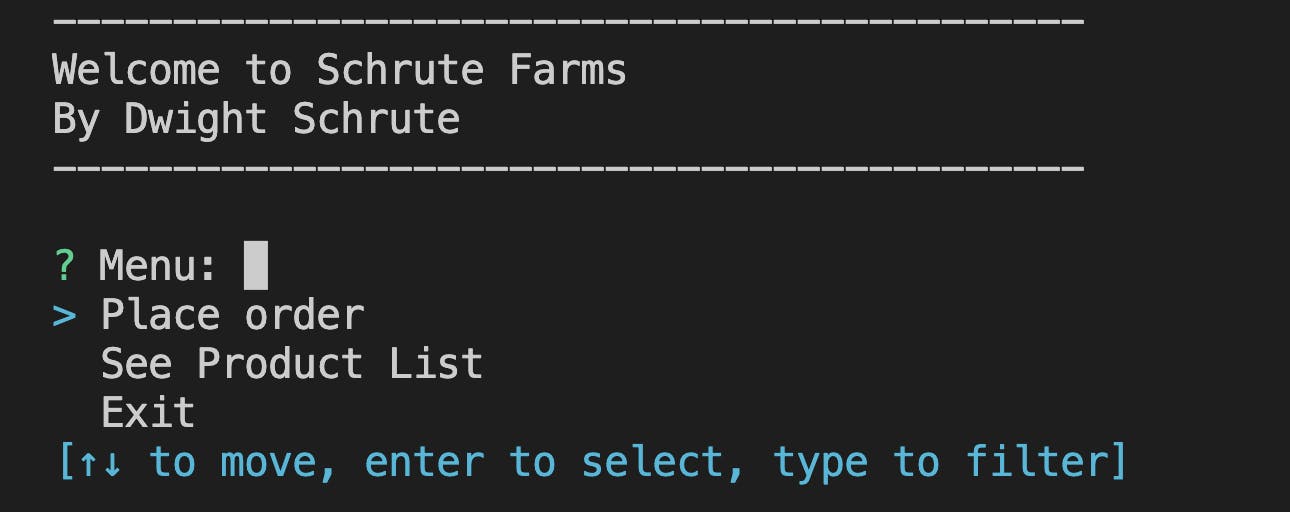
let options = vec![
        "Place order",
        "See Product List",
        "Exit"
    ];

let input = Select::new("Menu:", options.clone()).prompt();
We created an options vector first. Later we call Select::new() method, it takes &str as question and then the list of options. The prompt() method prompts the CLI user for input according to the defined rules.
If you notice we have passed options.clone() and not options . Let's do some snooping...
If you hover over the Select::new() method, you can see the argument types it requires. Which is Vec<T>.
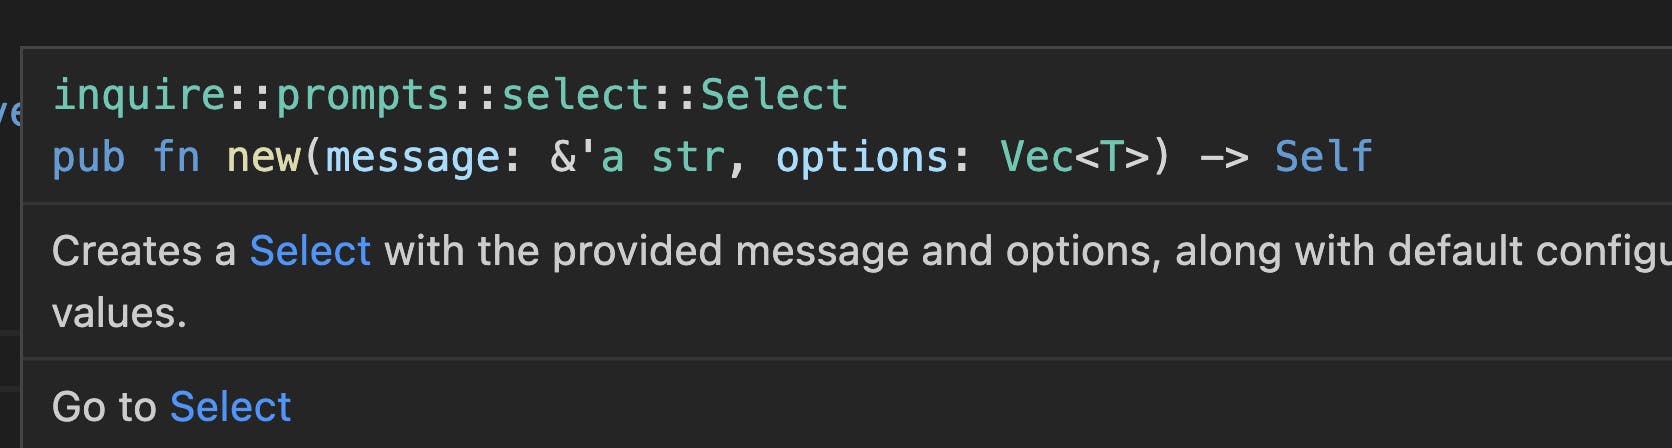
Now you can pass options too instead of options.clone() and it won't give you any error. But if you try to use options again it will give you an error.
let input = Select::new("Menu:", options).prompt();

println!("{:?}", options);
The above code will give an error like this
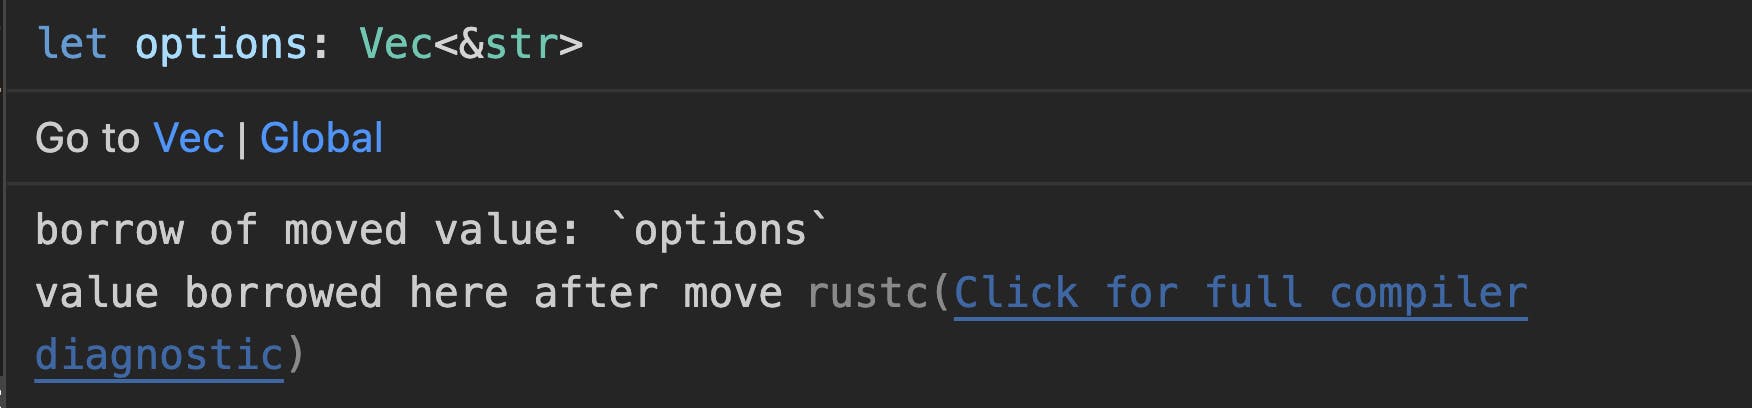
borrow of moved value? 🙃
Time to learn Ownership Model of Rust:
Each value in Rust has a variable that's called its owner.
There can only be one owner at a time.
When the owner goes out of scope, the value will be dropped.
The Ownership of value can be transferred by −
Assigning value of one variable to another variable.
Passing value to a function.
Returning value from a function.
When we passed options as an argument, it's value got moved. Thatswhy we cannot borrow it's value again. Hence the error "borrow of a moved value".
To avoid this we can do:
Pass it as a reference
&options. But the method wantsVec<T>and not&Vec<T>.We clone it's value and pass that.
Now put this back,
let input = Select::new("Menu:", options.clone()).prompt();
The type annotation of input is

What the heck is Result?
Result is a type that represents either success ( Ok ) or failure ( Err )
RUST DOES NOT HAVE
NULLDATA TYPE. So we haveResultorOptiontype to handle.Optionreturns eitherSomevalue orNonevalue.To handle the
Resultdata type we use "Pattern Matching". This way we let compiler know what to do forOk()andErr()
Easy 🦀
Let's handle the input
match input {
        Ok(input) => {
            if  input.eq(options[0]) {
                place_order();
            }
            else if input.eq(options[1]) {
                show_products();
            }
            else if input.eq(options[2]) {
                return;
            }
        },
        Err(err) => {
            println!("Err while reading choice: {}", err);
        },
    }
Now you see that we can easily reuse options as we cloned it before to save its value from getting moved.
Let's run this...
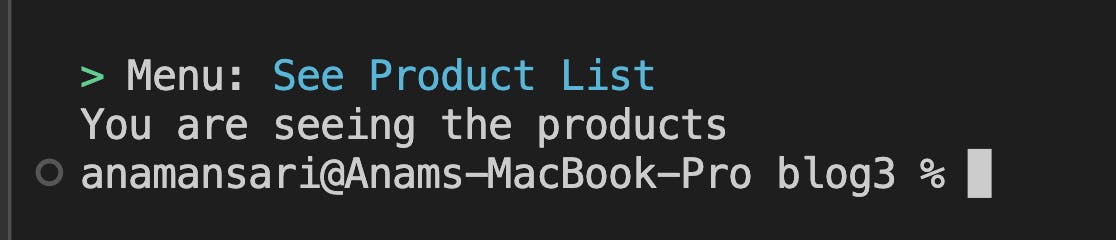
Hott 🦀
Displaying Product List
Create a file product.csv in /data folder
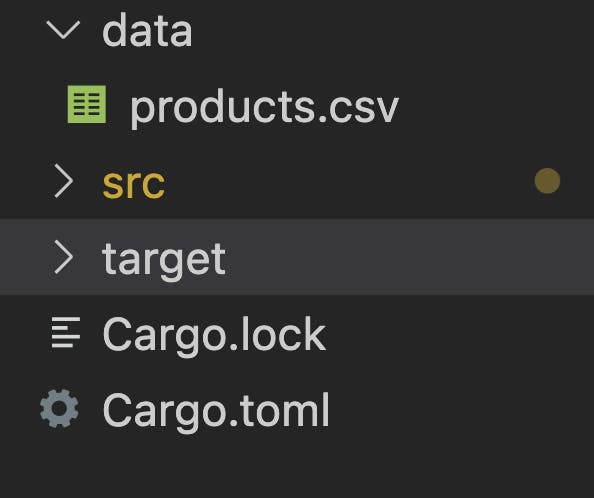
Copy paste the product list in that file
name,rate
Onions,20
Radishes,30
Turnips,25
Ginger,35
Beets,40
Potatoes,20
Carrots,50
Turmeric,90
Parsnips,80
We will now read the content of this file and display it when the user asks. For this we can directly read and display contents using csv crate. But we will use serde crate to deserialize the content properly.
In Cargo.toml under dependencies add this
csv = "1.1"
serde = { version = "1", features = ["derive"] }
First we create ProductInfo struct in product.rs file
use serde::Deserialize;

#[derive(Debug, Deserialize)]
struct ProductInfo {
    name: String,
    rate: u8
}
Structs , huh? 🧐
Structs are similar to tuples, in that both hold multiple related values. Like tuples, the pieces of a struct can be different types. Unlike with tuples, in a struct you’ll name each piece of data so it’s clear what the values mean.
Above the struct declaration, we have written #[derive(Debug, Deserialize)] , It means that the below struct implements Debug and Deserialize Traits. By Debug we can call {:} and {:?} on the struct . Using Deserialize Trait we can call deserialize method on the struct instance. (We will cover this in detail in coming blogs)
Create a function read_from_file which will read contents from the products.csv file.
fn read_from_file(path: &str) -> Result<(), Box<dyn Error>> {
    Ok(())
}
The return type of this function is Result<(), Box<dyn Error>> which means we will return Ok() or an Err(). A box is just a reference to some memory in the heap. For now don't focus on it much.
fn read_from_file(path: &str) -> Result<(), Box<dyn Error>> {
    let mut reader = csv::Reader::from_path(path)?;

    let headers = reader.headers();
    println!("{:?}", headers);

    for result in reader.deserialize() {
        let record: ProductInfo = result?;
        println!("{:?}", record);
    }

    Ok(())
}
Explanation:
We first read the file using
csv::Reader::from_pathmethod. We use?operator to let compiler know that it is anOk()value. If anErr()returns then it returns that from theread_from_filefunction.We then read the headers of the csv and print it.
We use a
forloop to iterate through each product. We calldeserializemethod on each iteration. This deserialize CSV data into normal Rust structs. Then we specifically give type annotation asProductInfoofrecord. We then print it.If any error occurs while reading the csv or deserializig the data, the
Err()is returned. If everything is okay then it returnsOk(())in the end.
Let's call this function in the show_products() function,
pub fn show_products(){
    if let Err(e) = read_from_file("./data/products.csv") {
        eprintln!("{}", e);
    }
}
This if let syntax means that if the value is Err() do this. eprintln!() is basically an error-print.
Let's run this...
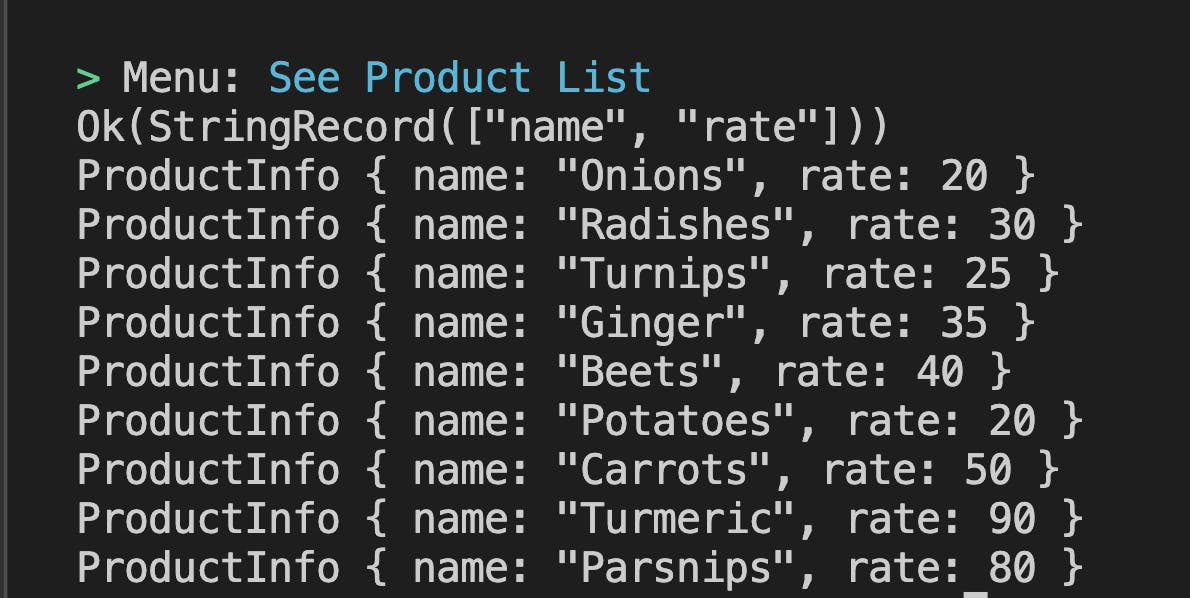
Perfect 🦀
We have finished the proper implementation of taking user input and displaying the product list 🏆.
The code of this blog can be found on GitHub.
What's next?
Play around with the code,
Print the product list in a proper way.
Improvise the code more and find bugs 🪲
In the next part we will implement the "Place Order" function 🦀
Phew, this blog has covered a lot of concepts. You can go through each concept again through the rust-lang book. I have covered around till Chapter 5 and a few parts of chapter 6 and 7. If you are not a documentation person, then binge let's get rusty, it's super awesome. Feel free to reach out to me on Twitter, with the awesome projects you build and the bugs you find. See you in part 2 🚀