What to expect?
In this blog, we will build a CLI Game, "Rock-Paper-Scissor". I have tried to cover basic Rust in this blog through this project. We will also go through some Cargo commands and usage.
Before we get started why not install Rust first if you haven't...
Installation Steps
What is CLI?
"A command-line interface (CLI) is a text-based user interface (UI) used to run programs, manage computer files and interact with the computer." Think of it as the opposite of your Graphical User Interface. Rust is popularly known for building CLI tools.
Let's get started then...
We will create a new project using "Cargo".
cargo new cli-game
Then we will move into that project.
cd cli-game
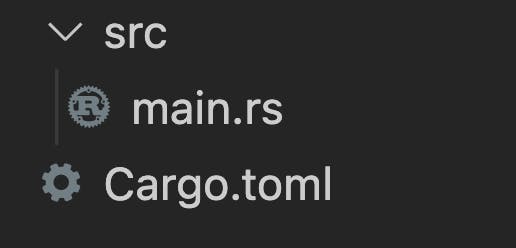
The cargo new <project-name> command creates a folder with the project name and it has the following contents.

Cargo expects your source files to live inside the src directory. The Cargo.toml file for each package is called its manifest. It is written in the TOML format. It contains metadata that is needed to compile the package.
If you open the main.rs file, it will already have a small Hello World program.
fn main() {
    println!("Hello, world!");
}
Few Cargo Commands
cargo buildTry running this command and see what happens. Yes, a
targetfolder is created. So basically this command builds an executable file intarget/debug/cli-game.
You can now run the code using./target/debug/cli-gamecommand.cargo runThis Builds + Runs the cargo project for you.
cargo checkBuild a project without producing a binary to check for errors.
Run the Hello World project using cargo run .

Let's continue...
- Part 1: Reading the user's choice and displaying it.
Remove the Hello World code from the main function and add a few print lines.
fn main() {
    println!("Rock-Paper-Scissor Game");
    println!("Enter (r)ock (p)aper or (s)cissor");
}
println!() is a macro that prints the sentence enclosed in it and adds a new line too. You can also use print!() if you don't want to add a new line.
Macros, huh 🤔?
Macros enable you to write code that writes other code, which is known as metaprogramming. Macros provide functionality similar to functions but without the runtime cost. Macros are denoted by thisfunc_name!()
Now to read input from the user we will use the Standard library of Rust, let's import it
use std::io;
The io library provided by std crate lets you read input from a user into a String variable. So let's declare a String first.
let mut choice = String::new();
Breakdown:let allows you to define a variable
mut We make the variable a "mutable" type. Which means we can change its value. In Rust, variables are immutable by default.
String::new() This creates a new String instance.
Now you must be wondering why we are not doing something like this instead (Try pasting this on your code):
let mut choice = "";
If you do this, you will notice that the type annotation you are getting is &str .
What's the difference between String and str in Rust?
In Rust, str known as a string slice is a read-only view into a string, and it does not own the memory that it points to. On the other hand, String is a growable, mutable, owned string type. You will get a better idea when we will talk about the "Ownership Model" of Rust.
Now that we have a variable to store the input in, let's read it.
io::stdin()
    .read_line(&mut choice)
    .expect("Failed to read line");

    println!("You played: {choice}");
We used stdin() the function of io the module here. The read_line is a method that will read the input and store it in the variable passed as an argument, here choice. Now if you see we have added &mut in front of the variable. We have to always mention mutable variables with mut .
The & symbol holds a significant function. It means that we are referencing the variable choice. This gives you a way to let multiple parts of your code access one piece of data without needing to copy that data into memory multiple times. (No Data races then, hehe)
Together &mut is called a mutable reference of a variable.
Now as I mentioned in the first blog about Error Safety in Rust. This is what the next method expect is doing. Let's say the user doesn't input something properly, the code will panic!! Therefore, we use expect to let the code know what to do if it fails. (We also explore what exactly "fails" mean in the coming blog)
In println!() we are writing something as {choice}, this {} is a placeholder where we can add variables to print. Simultaneously we can write something as
println!("You played: {}, choice)
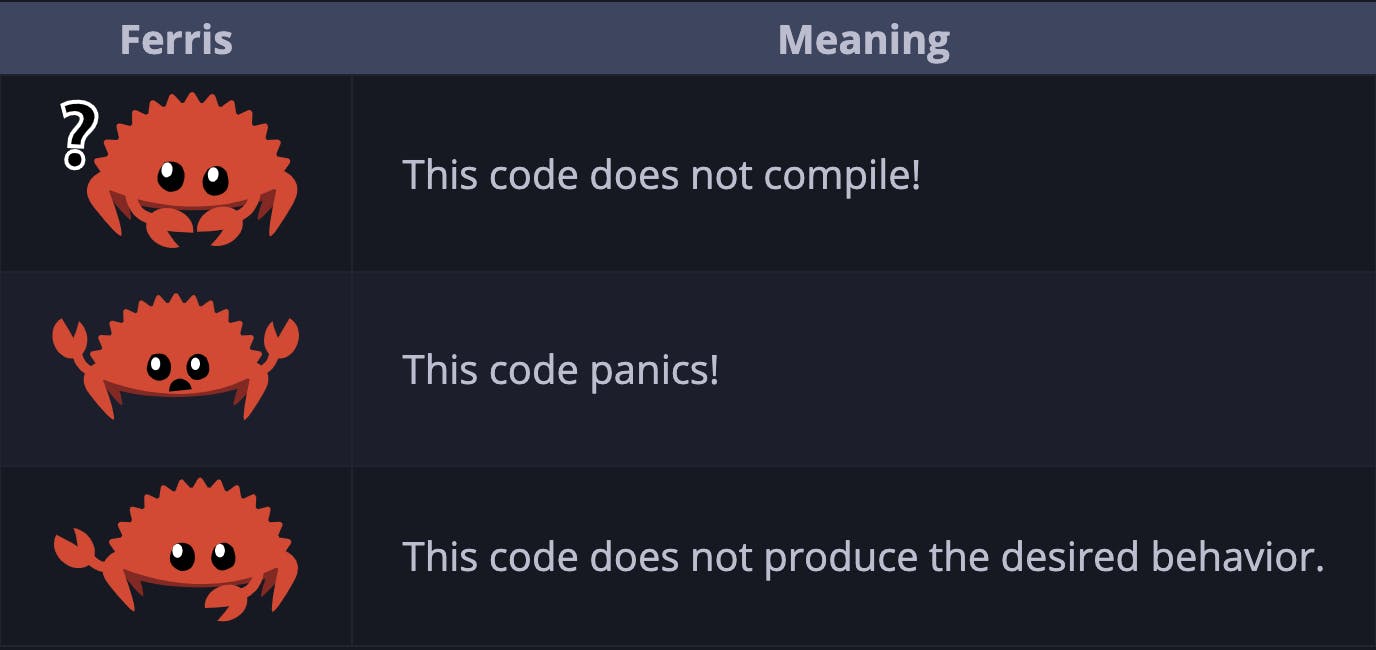
Rustaceans use these terms:
Let me know in the comments which condition can panic the read_line function.
So till now we have completed this much:
use std::io;

fn main() {
    println!("Rock-Paper-Scissor Game");

    println!("Enter (r)ock (p)aper or (s)cissor");

    let mut choice = String::new();

    io::stdin()
        .read_line(&mut choice)
        .expect("Failed to read line");

    println!("You played: {choice}");
}
Let's run it 🦀

Awesome!
- Part 2: Get the Computer's Choice and Give the Result
We will obliviously generate a random choice for the computer. For this, we can use rand crate. Now unlike the std library, we cannot directly import this. We have to first make this a dependency.
On to Cargo.toml
[package]
name = "cli-gamee"
version = "0.1.0"
edition = "2021"

[dependencies]
We have to put the rand crate under [dependencies] section.
[dependencies]
rand = "0.8.5"
Now run cargo build , so Cargo can fetch the dependency for you.
Crates?
Crate is a collection of Rust source code files, easy.
But Hold up,
We have two types of crates "binary" and "library". Right now what we are writing is a binary crate andrandis a library crate. I wonder why, what do you all think? Let me know in the comments, hehe. I will anyways cover this in the upcoming blogs.
Import rand crate along with some of its traits. The Rng trait defines methods that random number generators implement, and this trait must be in scope for us to use those methods.
use rand::thread_rng;
Now in the main function, we define a mutable variable rng and thread_rng() is the method that gives us the particular random number generator we’re going to use: one that is local to the current thread of execution and is seeded by the operating system.
let mut rng = thread_rng();
We will also define an array of Strings "r", "s", and "p". This will be used to select random choices.
let choices = [String::from("r"), String::from("p"), String::from("s")];
Now String::from() method creates a new string from the argument passed inside. We used String::new() above, to create just an instance of the String.
Now we have the random generator rng and choices to make choices. We have to bring something else in the scope too first.
use rand::seq::SliceRandom;
The SliceRandom trait has a method choose that is called on the choices array and it takes a mutable reference to the range generator rng. We have also used expect method again to handle if an error occurs.
let comp_choice = choices.choose(&mut rng);
println!("Computer played: {}", comp_choice);
If you write this much, you will get a red underline on comp_choice on the second line.
Something like this...

Also, the type annotation of comp_choice will be something as Option<&String>. For now, let's listen to the error which says use {:?} instead of just {} . Now the error will be gone
Let's run this 🦀

If you notice we are getting Some("p") and not p. Reason being, the type Option returns either Some value or None value. Here there was no error, so it properly returned Some but if there was something wrong it would have written None. This was also the reason why the print statement was not accepting normal {}, we had to use something called pretty print {:?} to print Option type.
To print the value of Some we can use Pattern Matching or use expect method. Not going into pattern matching for now. expect method will let the code know that if None value is written, it will handle it, for now expect that the value is Some only.
let comp_choice = choices.choose(&mut rng).expect("Empty Range");
Let's run it again 🦀

Perfect!
Now all we gotta do is compare the user choice and computer choice, and it's done.
if &choice == comp_choice {
    println!("You won, hehe");
}
else {
    println!("You lost, sad");
}
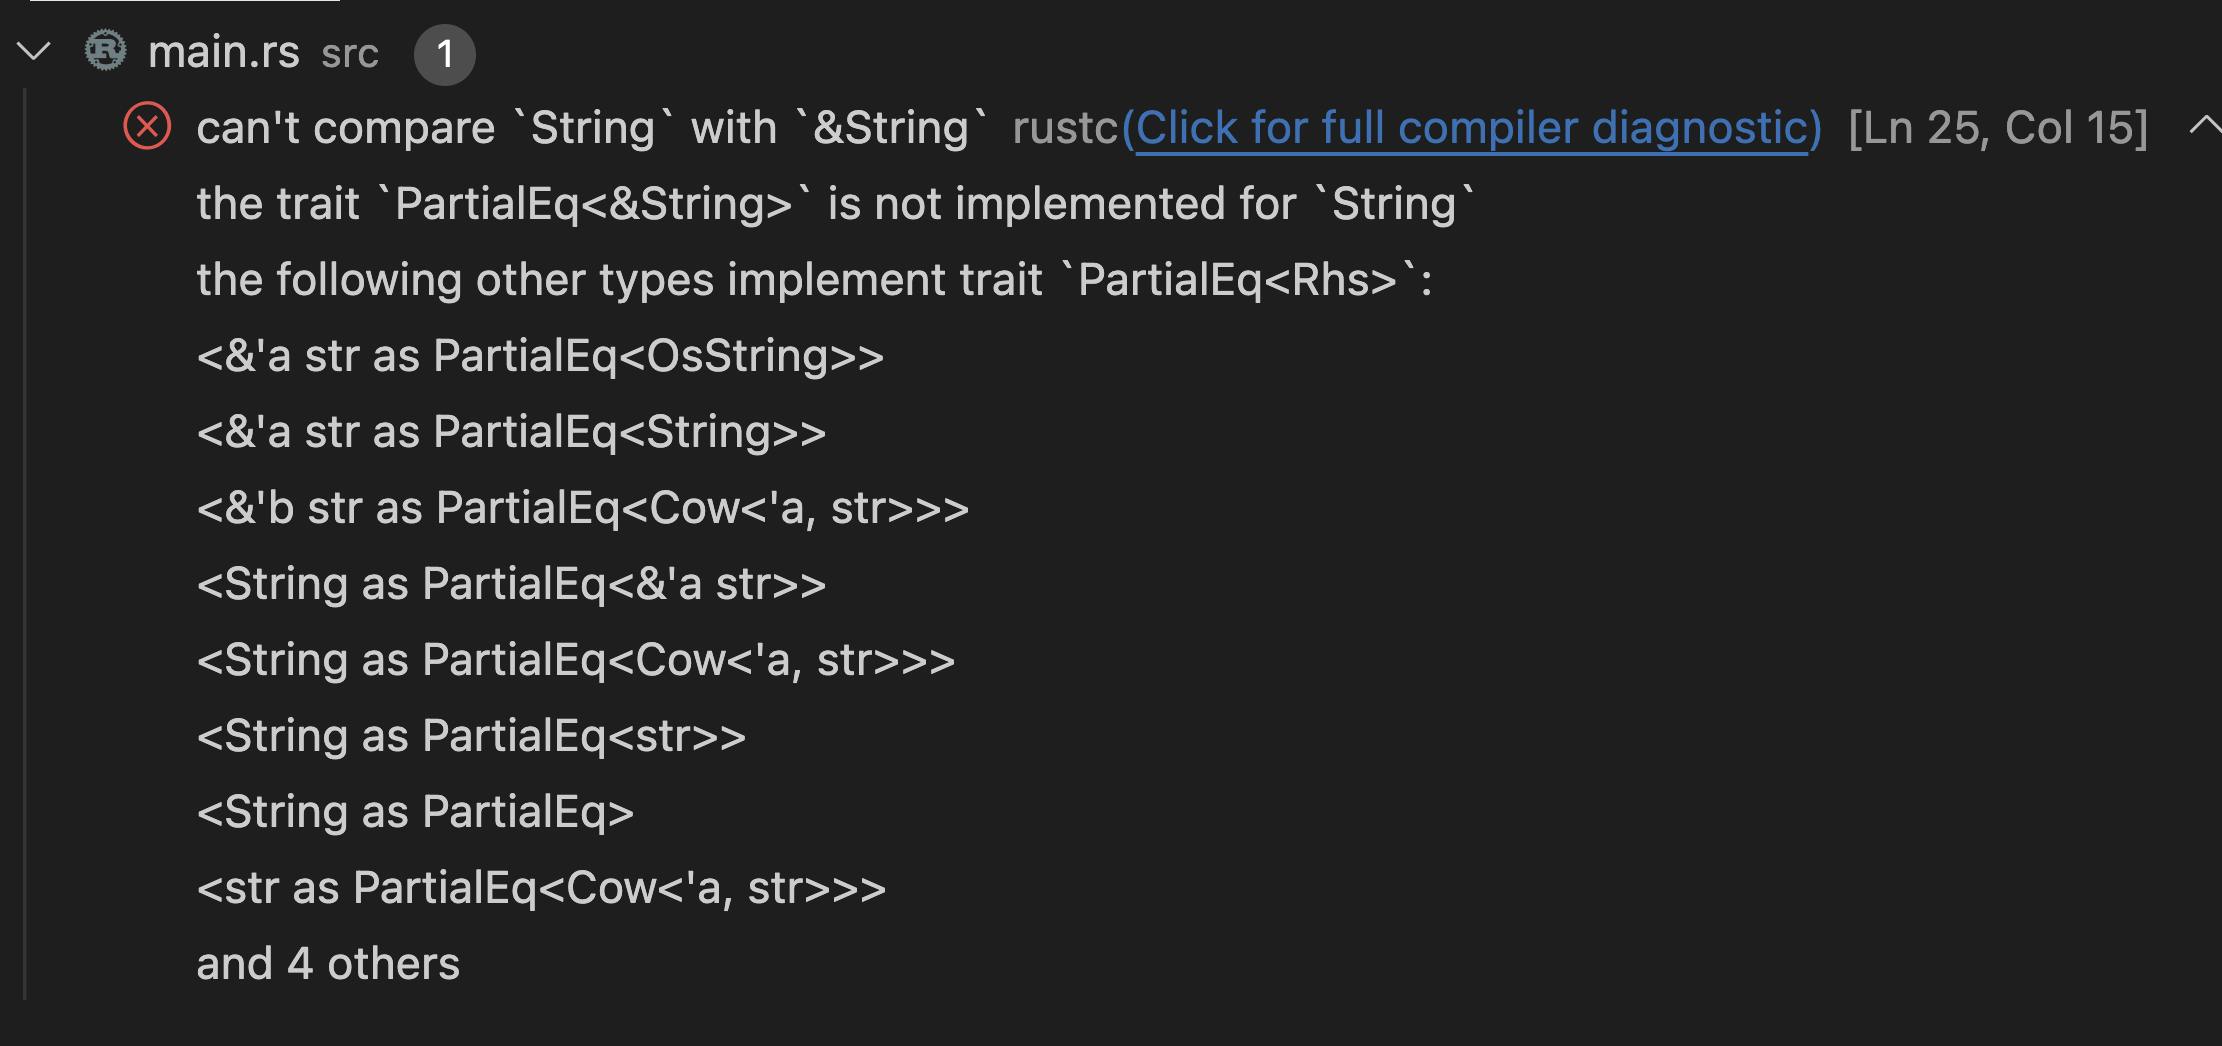
If you see we have written &choice instead of choice. Try removing & and see what happens. The error is self-explanatory:

The type of comp_choice is &String so we also call choice with & to match the type, easy.
Rust 🦀 will be more fun when you start checking what will happen if you remove a certain thing, As the error messages are pretty well.
Now the final run for this blog 🦀

Woho 🦀 Our first cli-game is completed.
use std::io;
use rand::thread_rng;
use rand::seq::SliceRandom;

fn main() {
    println!("Rock-Paper-Scissor Game");
    println!("Enter (r)ock (p)aper or (s)cissor or (q)uit");

    let mut choice = String::new();
    io::stdin()
        .read_line(&mut choice)
        .expect("Failed to read line");

    println!("You played: {choice}");

    let choices = [String::from("r"), String::from("p"), String::from("s")];
    let mut rng = thread_rng();
    let comp_choice = choices.choose(&mut rng).expect("Empty Range");

    println!("Computer played: {}", comp_choice);

    if &choice == comp_choice {
        println!("You won, hehe");
    }
    else {
        println!("You lost, sad");
    }

}
You can find the code for this blog on GitHub.
What's next?
Play around with the code,
1. I wonder if you noticed that the if-else logic is not correct for a Rock-Paper-Scissor game. Now it's your turn to apply the correct logic and complete the CLI.
2. Make this game in a loop and add one more option to quit.
Bring your creativity and start exploring, It's always fun to customize what you learn/ build. Feel free to reach out to me on Twitter, with your new cli-game which you made with your own touch. You can also let me know of any improvements, I can do in the coming blogs, as we are just getting started 🦀

